These are instructions on how to install the virtual print queues at Mount Vernon.
Installing on Mac Computer
Ensure that your device is connected to the MountVernon-Main wireless network
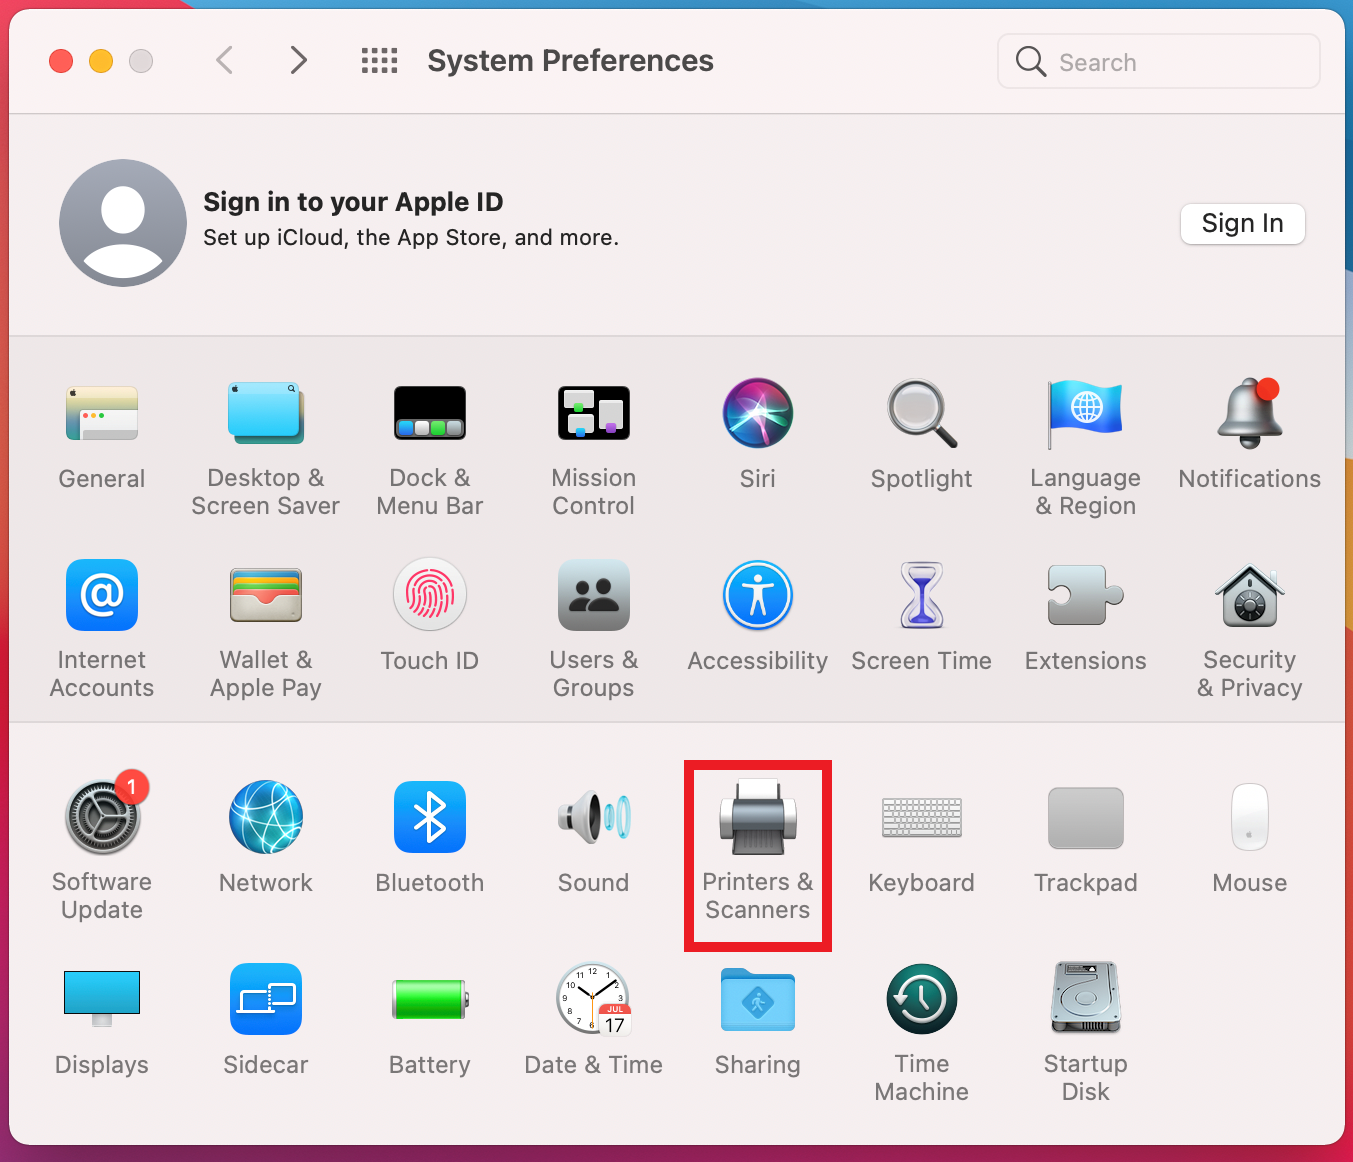
Open System Preferences and navigate to "Printers & Scanners"
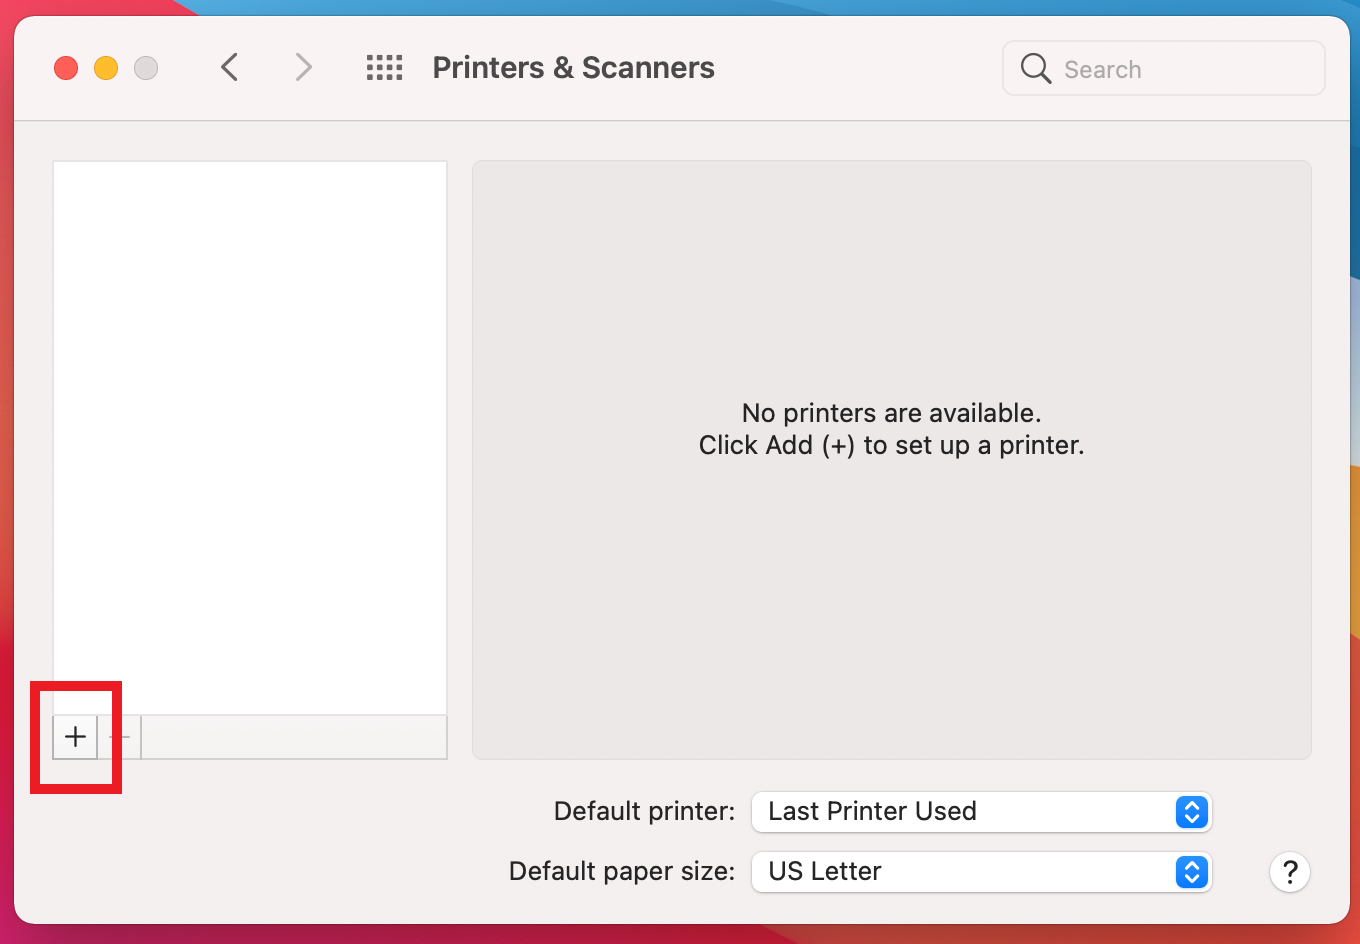
For each printer in the list, select it and click the "-" button to delete it
Once done, click the "+" button at the bottom-left
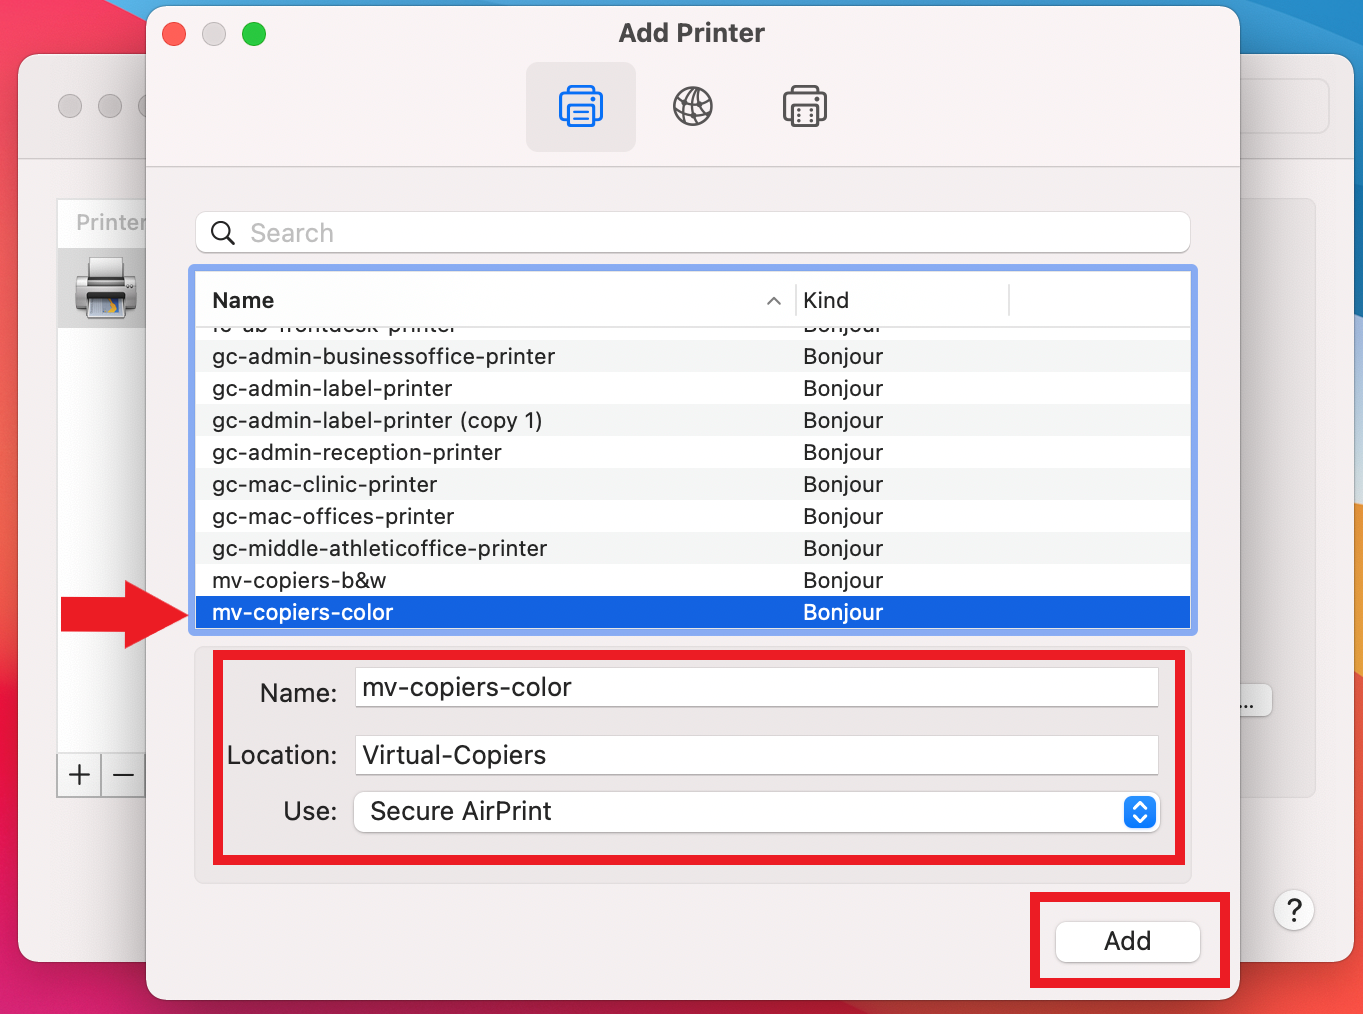
In the window that appears, select the "mv-copiers-b&w" printer in the list and allow the details to populate
Ensure that the Use field says "Airprint" or "Secure Airprint" (if not, choose it from the dropdown)
Click "Add"
Repeat steps 4 through 7 and select the "mv-copiers-color" printer in the list this time
You can also follow steps 4 through 7 for adding other printers available at Mount Vernon
When ready to print:
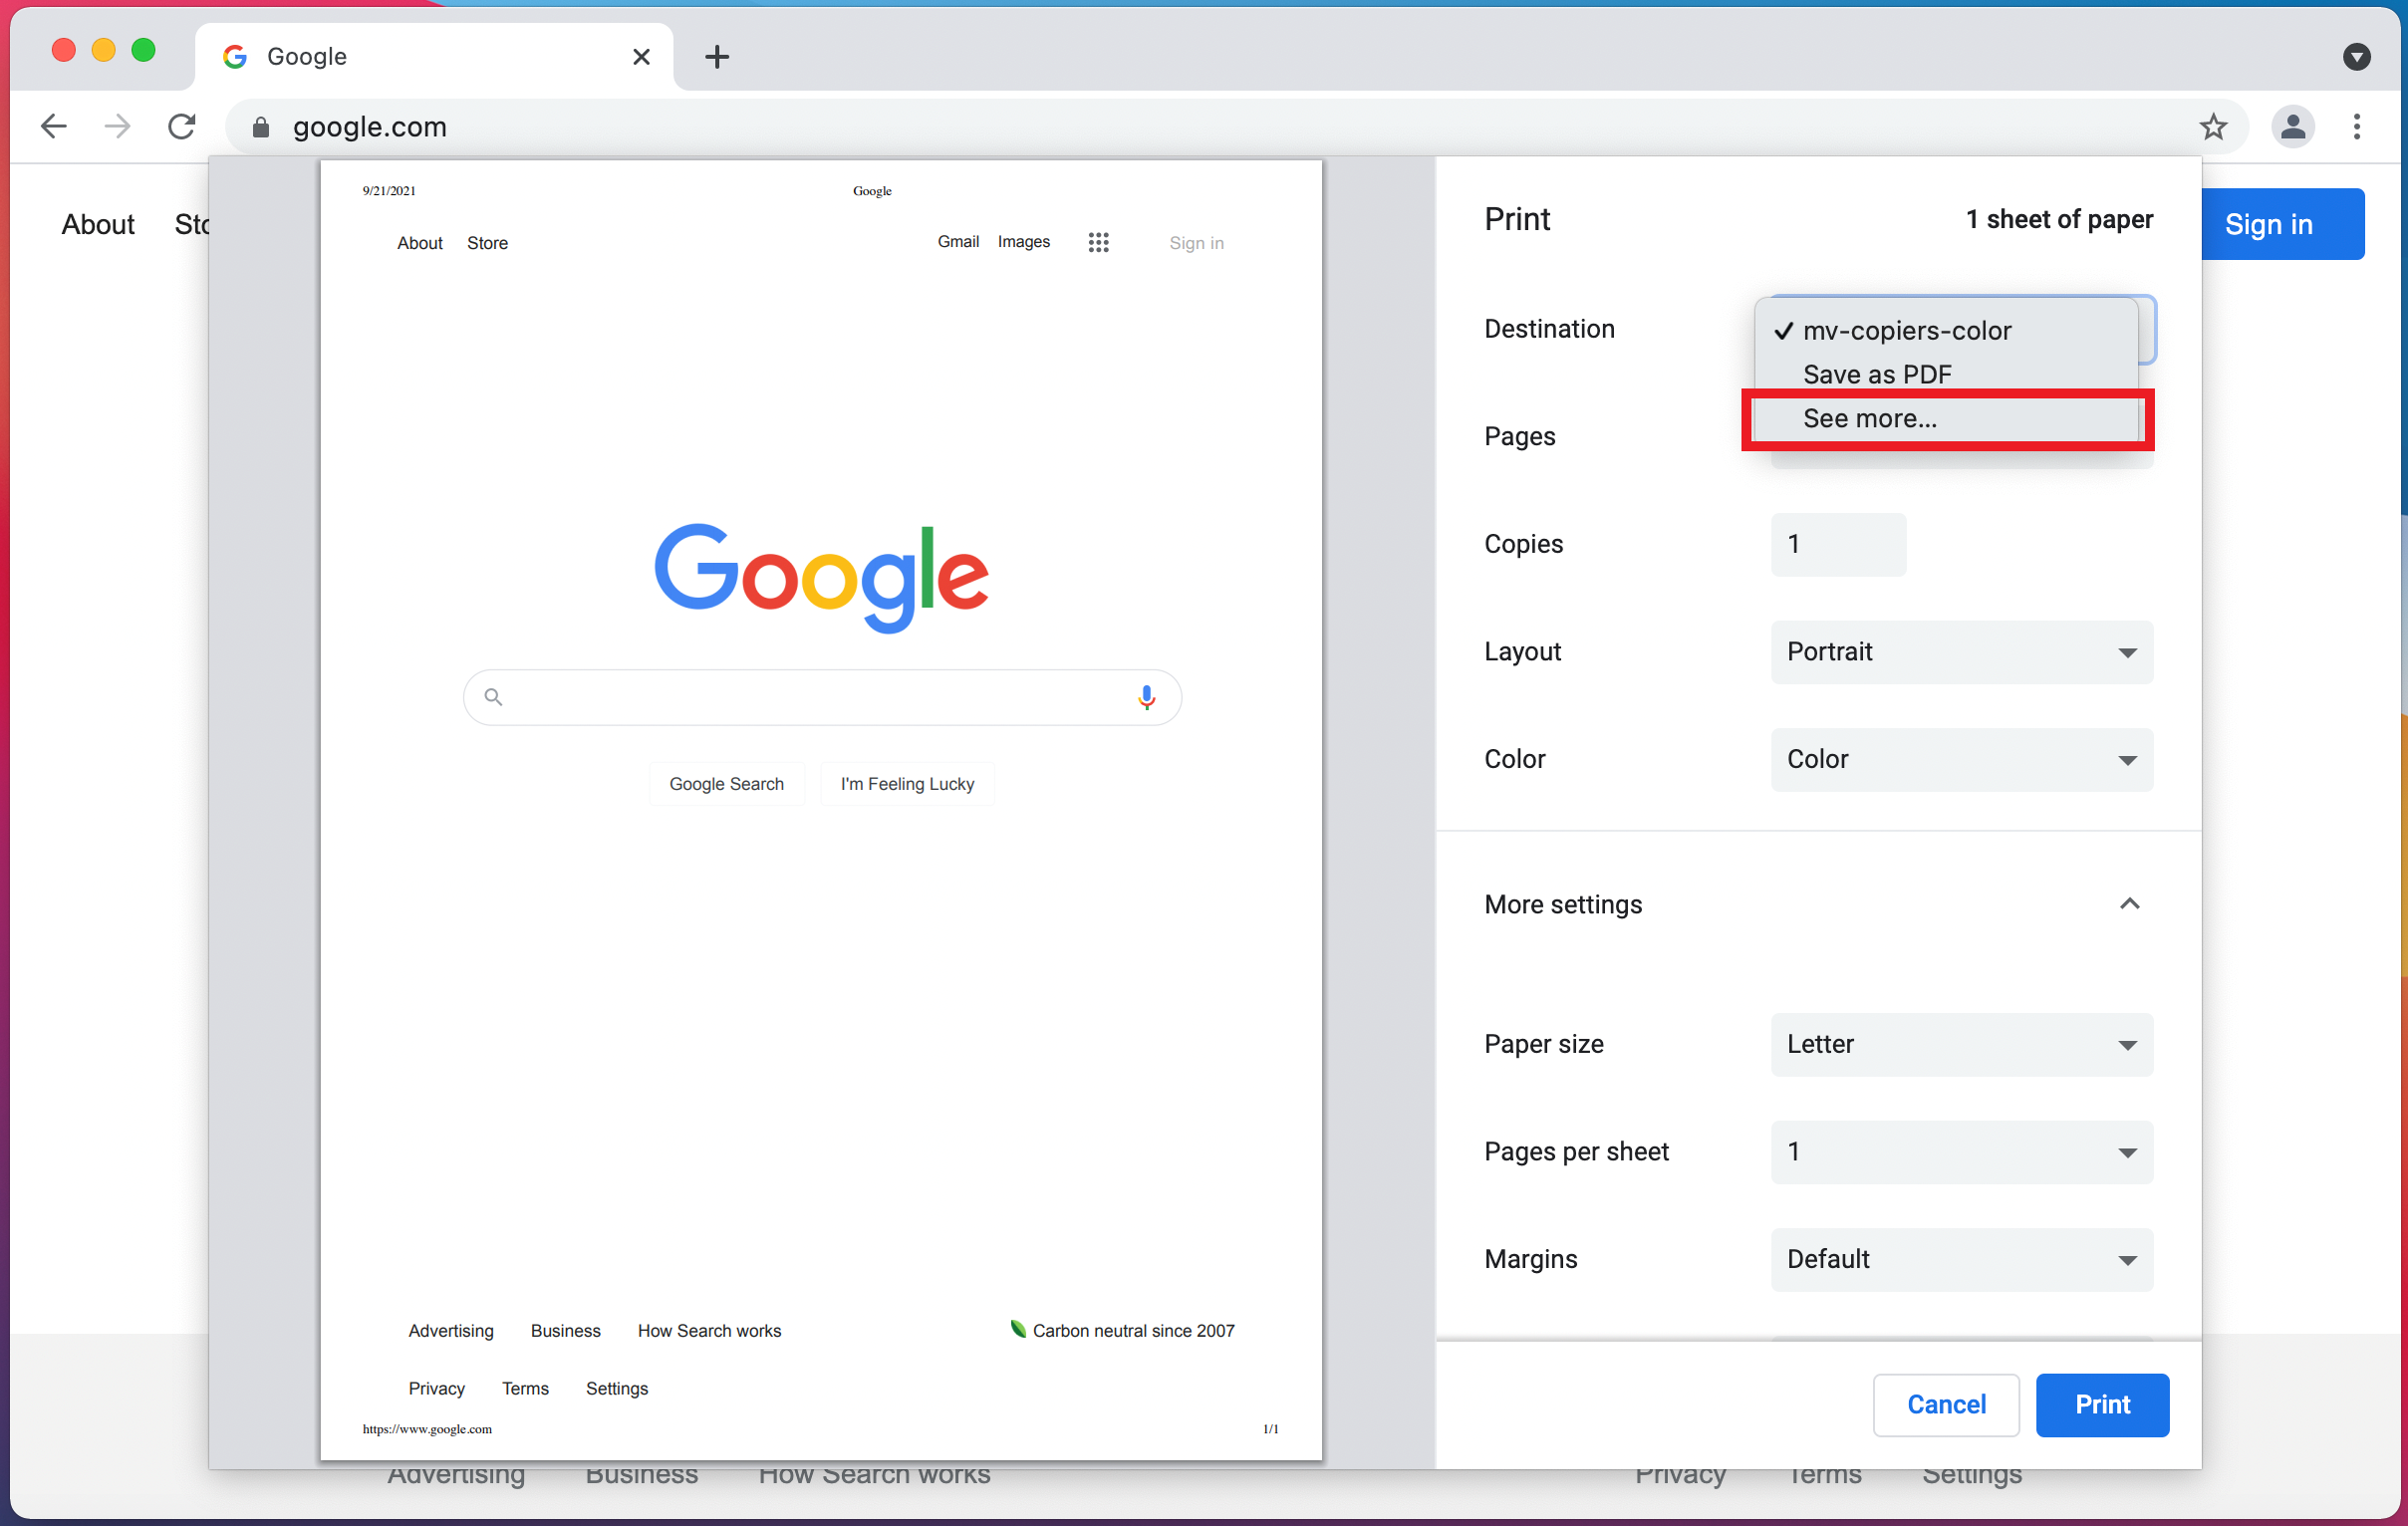
Open the Print Window for the content you want to print (we are looking at Google Chrome in this example)
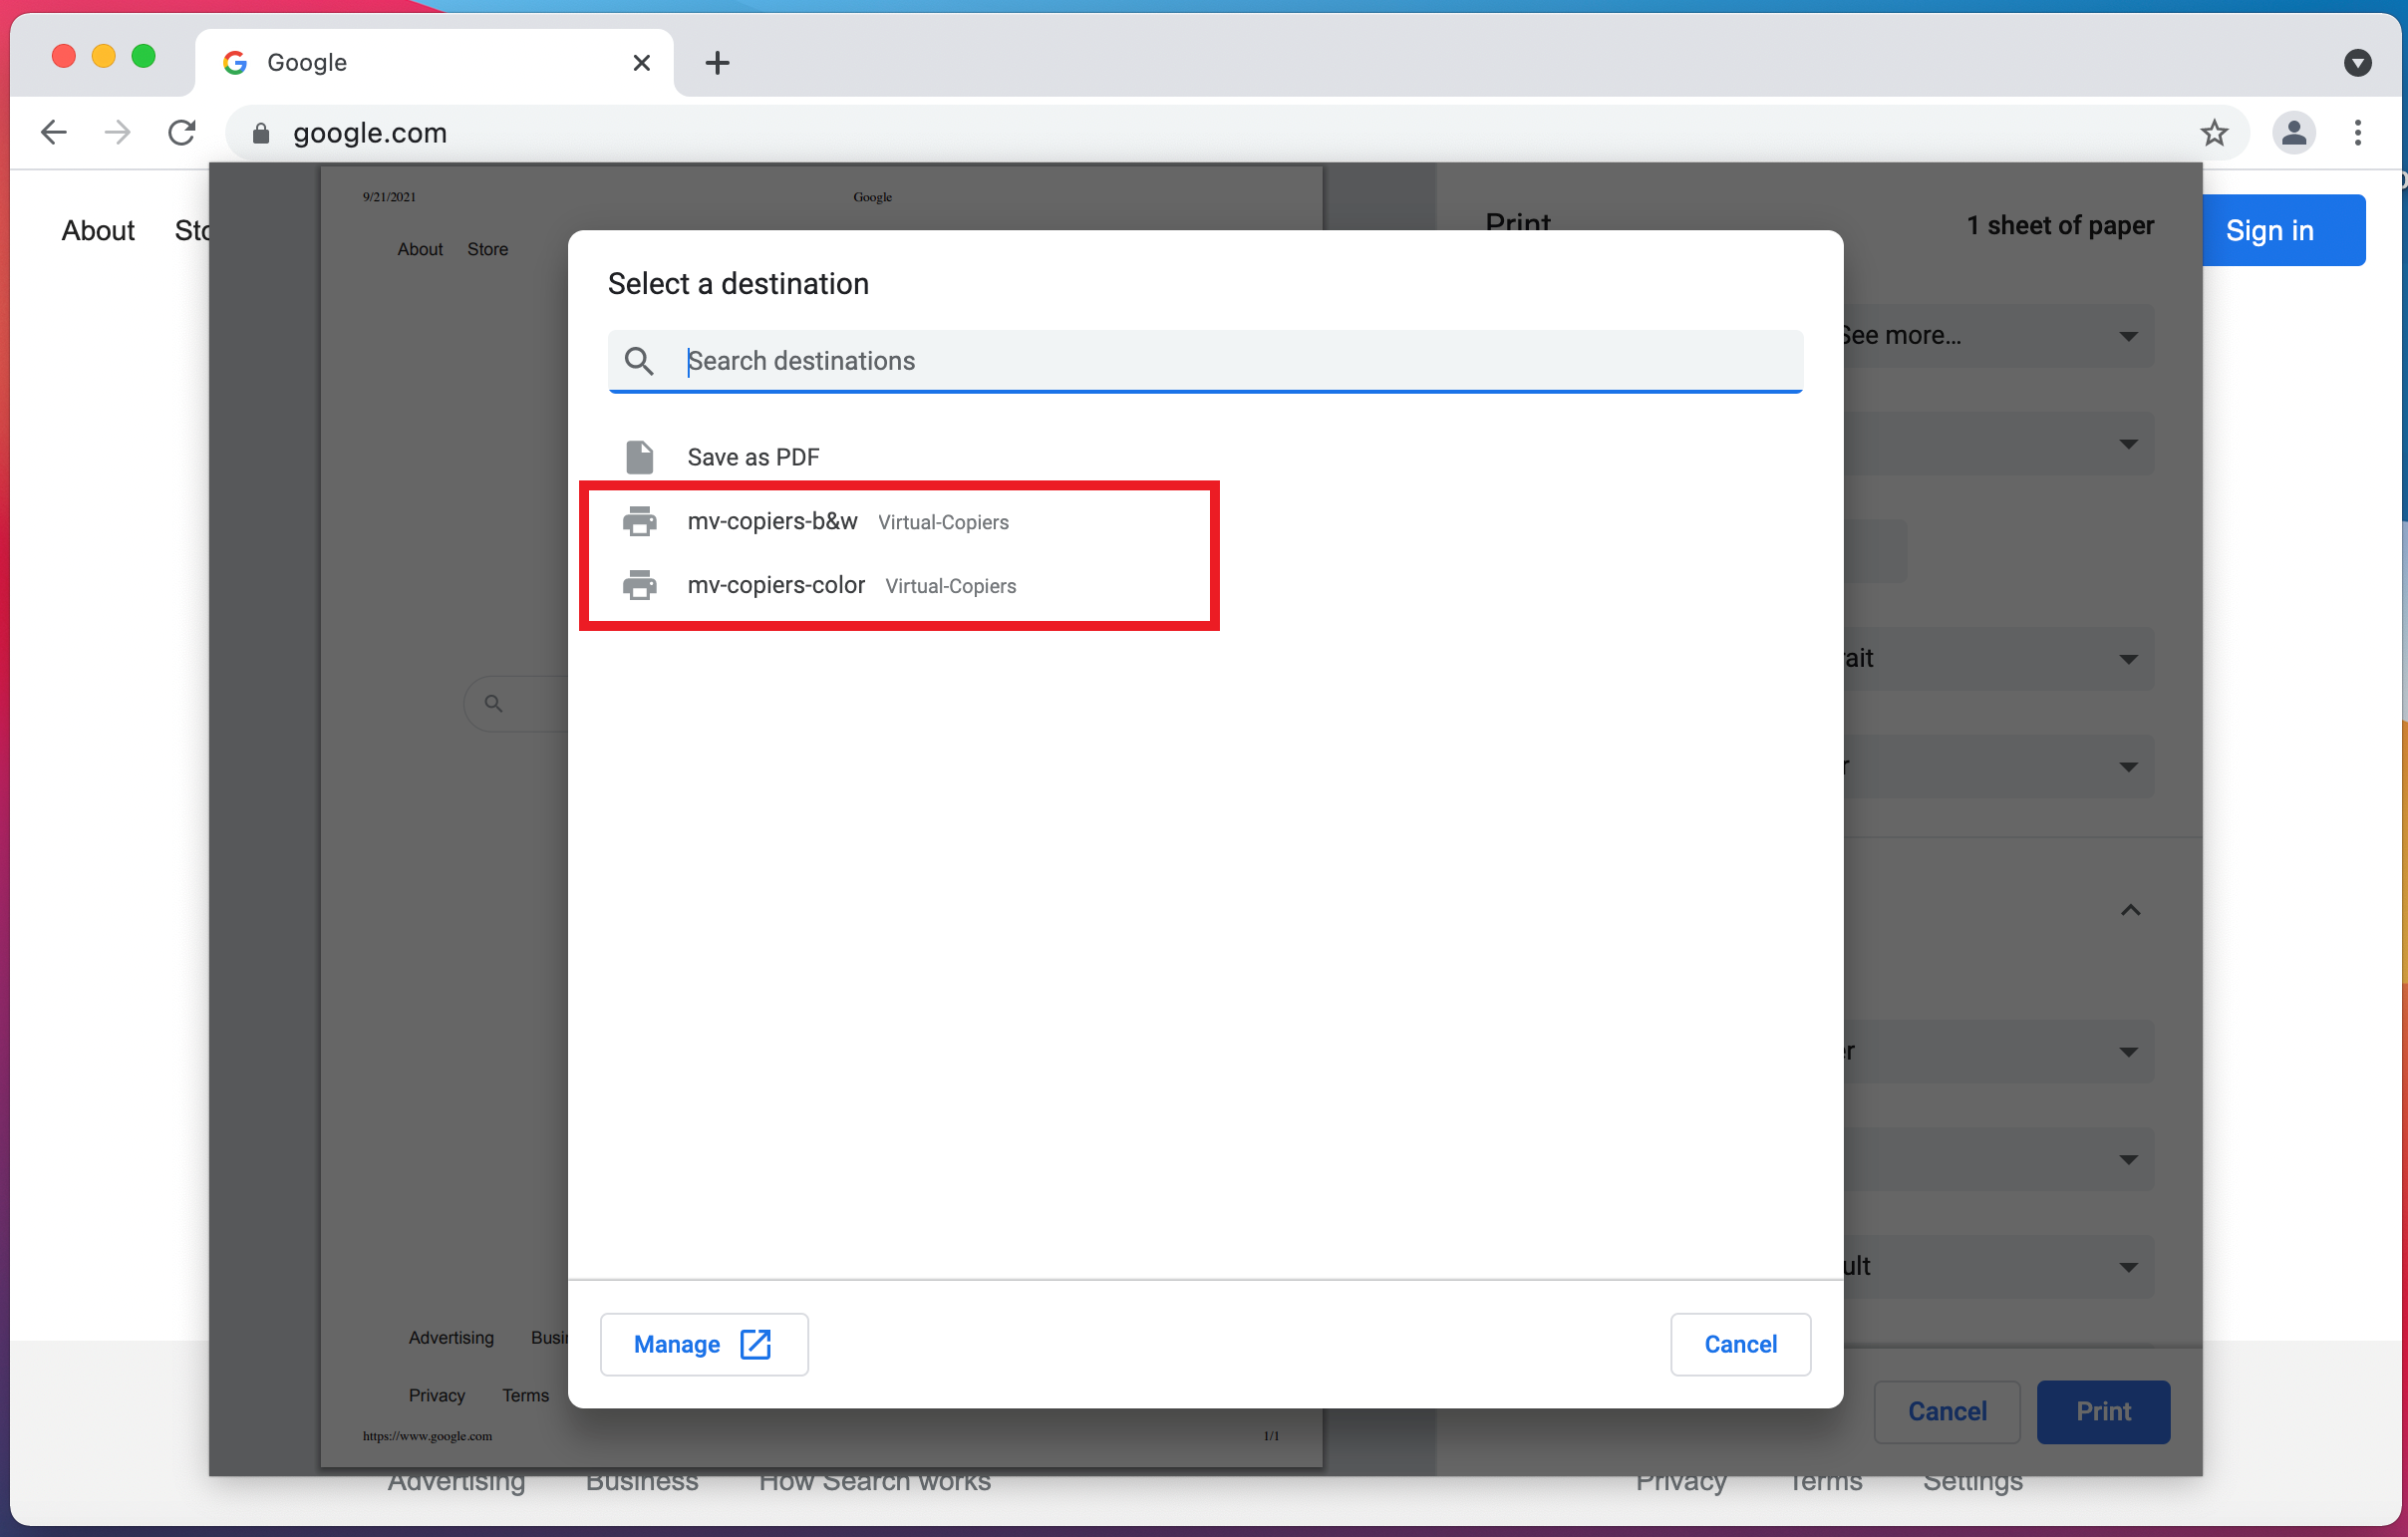
Find the newly-added queues in the printer list (they may hide under "See more...")
Select the print queue you wish to submit your job to
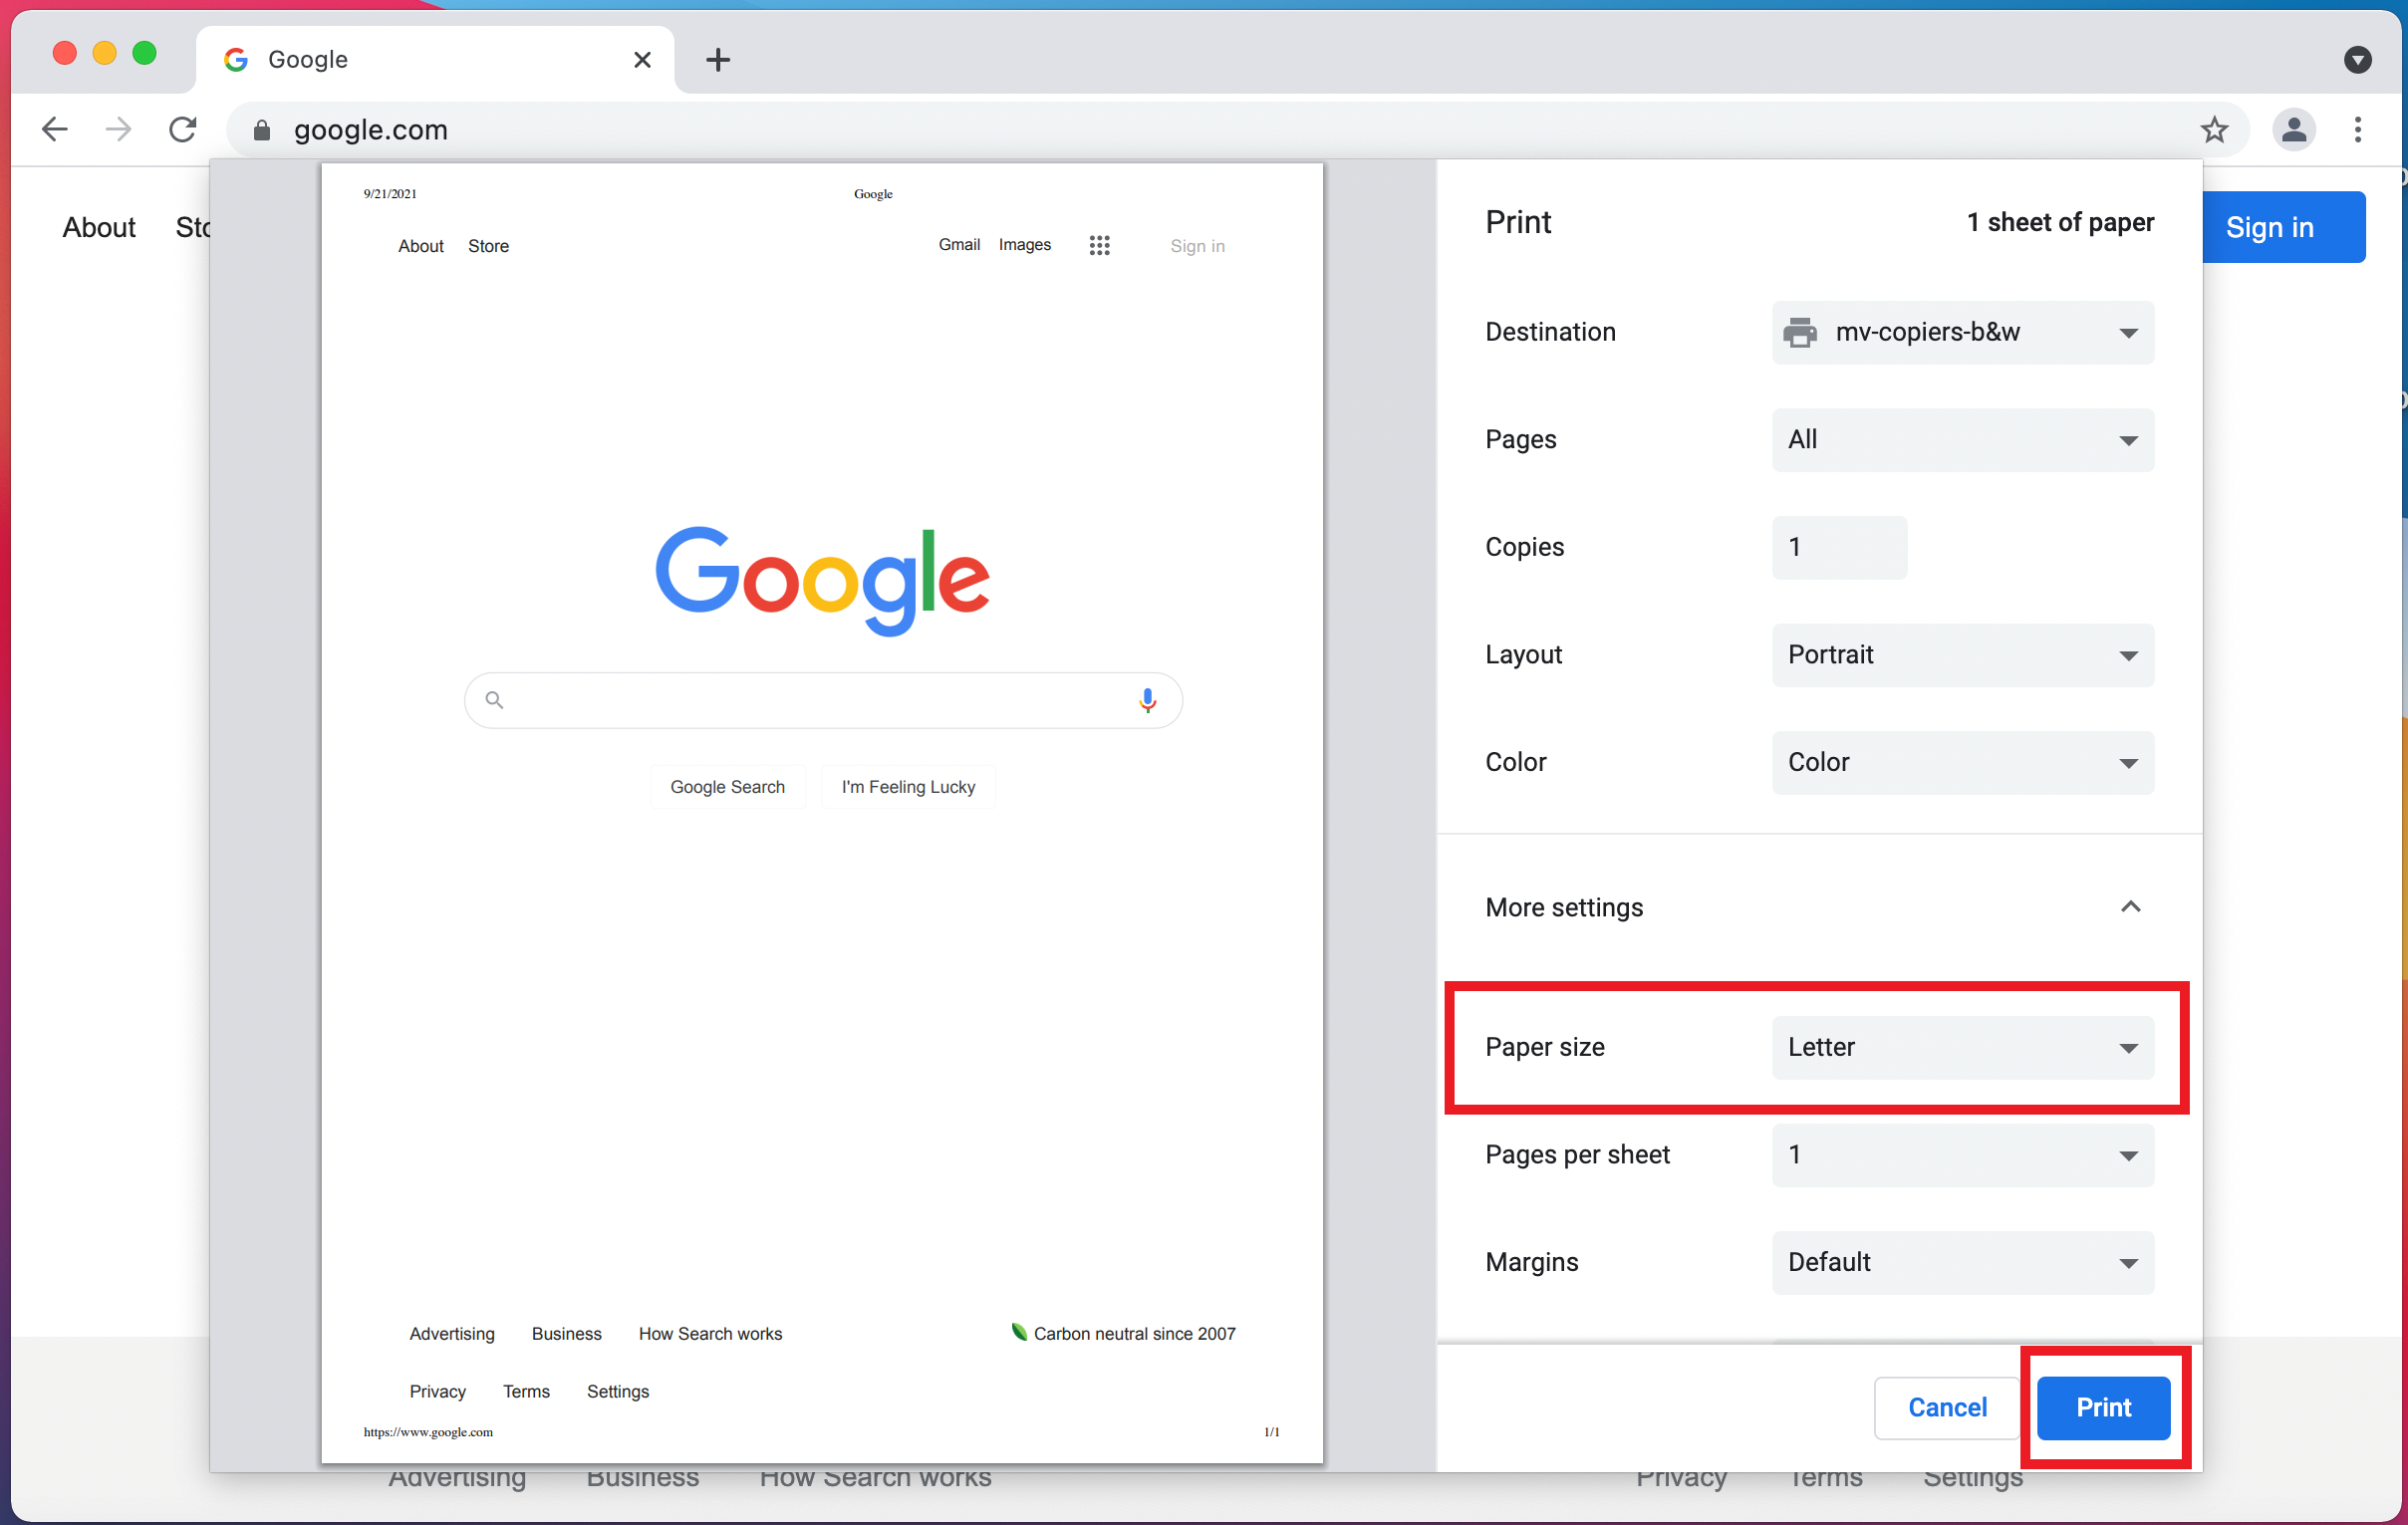
Ensure that you are submitting your print job with an allowed paper type (List here) and click "Print"
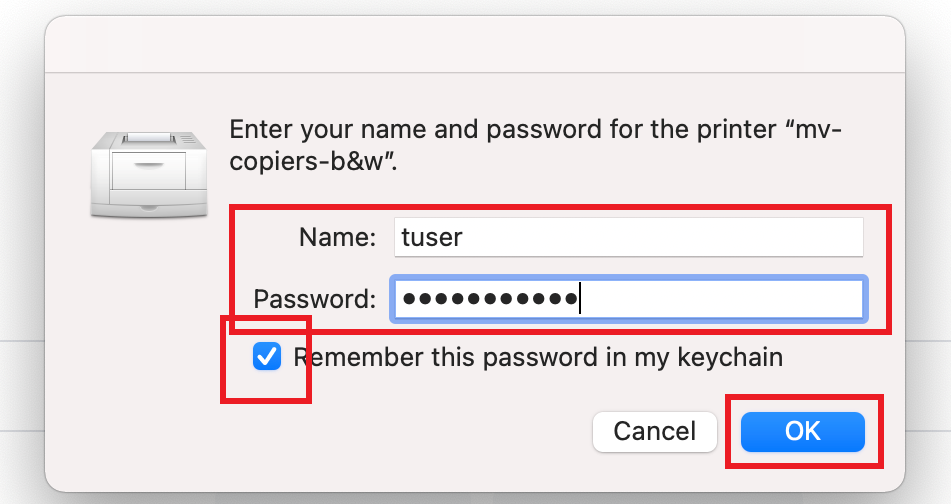
When an authentication window appears, enter your Single Sign-On Username in the "Name" field and your Single Sign-On Password in the "Password" field
Click the "Remember this password in my keychain" checkbox, so you do not have to enter your information every time
Click "OK"
Your print job has now been submitted
Installing on Windows Computer
Ensure that your device is connected to the MountVernon-Main wireless network
Download and install Apple Bonjour for Windows here
Download the PaperCut Mobility Print Setup application here
Launch the downloaded PaperCut application
Navigate through the initial setup
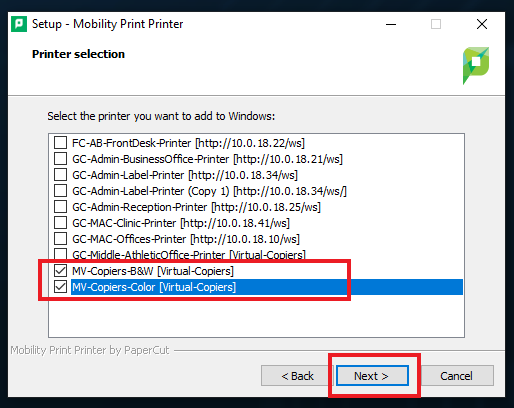
When the "Printer Selection" section appears, uncheck all that are currently selected, then select "MV-Copiers-B&W [Virtual-Copiers]" and "MV-Copiers-Color [Virtual-Copiers]"
You can also select other printers that are available at Mount Vernon that are on the list to print to
Click "Next"
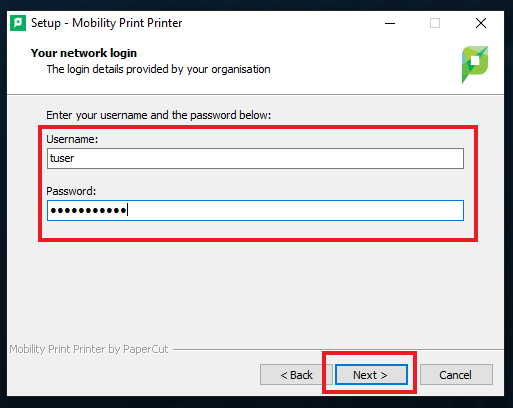
When the "Your Network Login" section appears, enter your Single Sign-On Username in the "Username" field and your Single Sign-On Password in the "Password" field
Click "Next"
Allow the application to complete the setup, then click "Finish"
Restart your computer and now you can submit print jobs to the newly-added print queues